
Quick answer
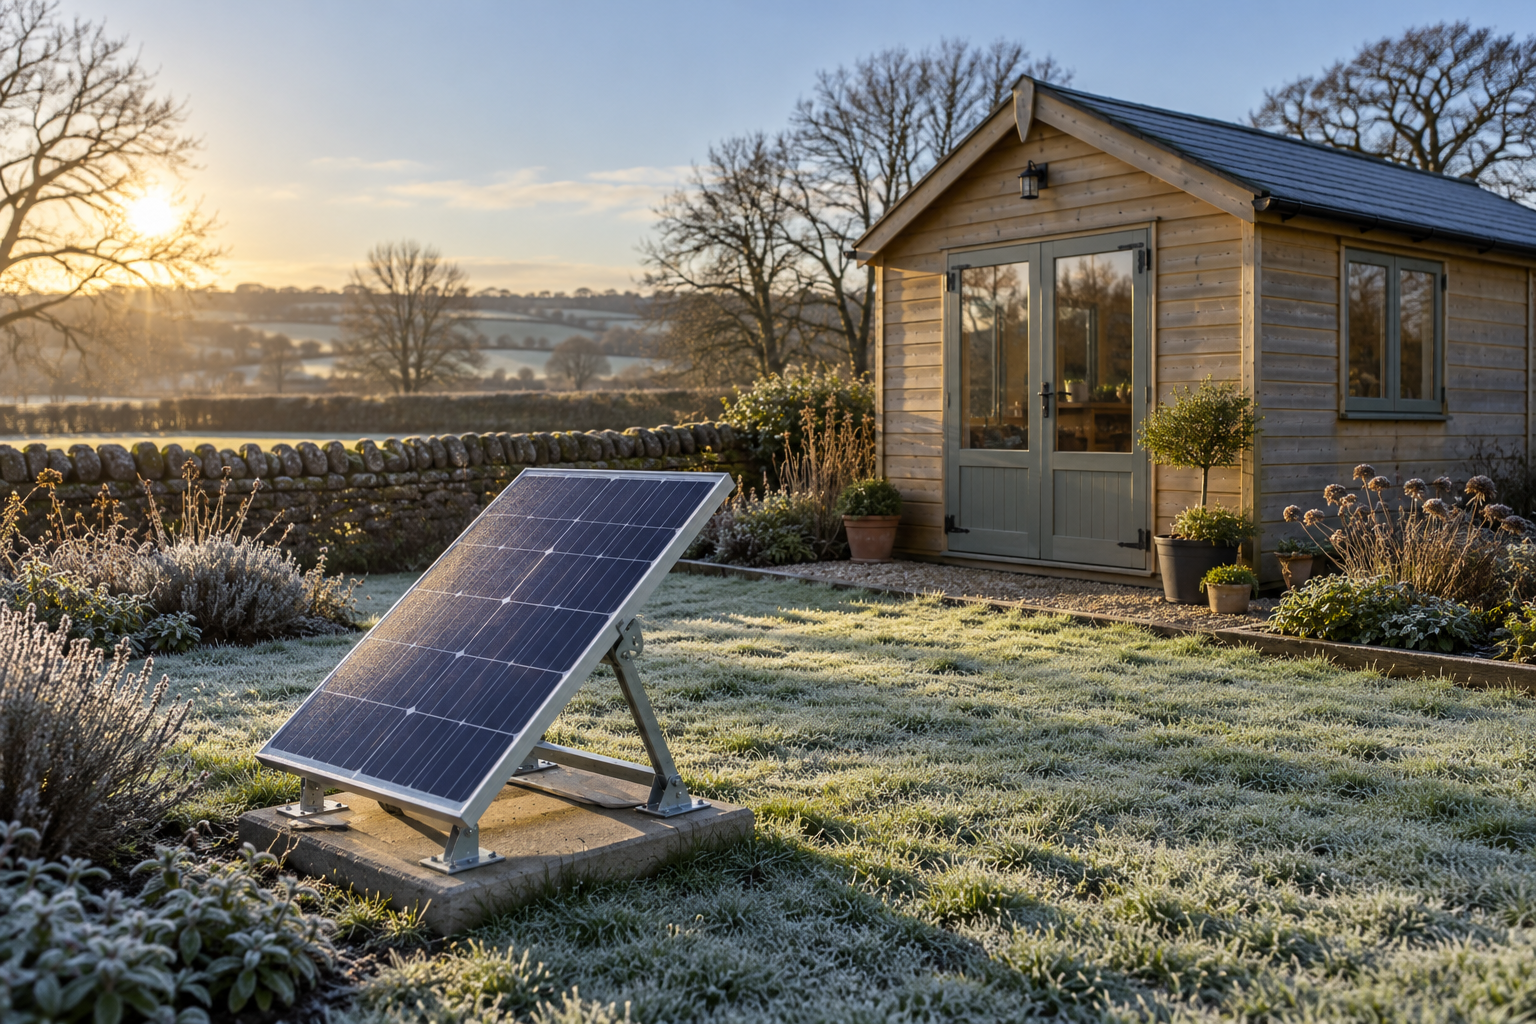
A steeper winter tilt can help a suitably designed adjustable solar array collect more energy, but most fixed rooftop panels should stay as installed. The useful gain depends on your location, shade, panel direction and whether your battery or appliances can use the extra electricity. Compare winter kilowatt-hours before buying adjustable hardware or arranging alterations.
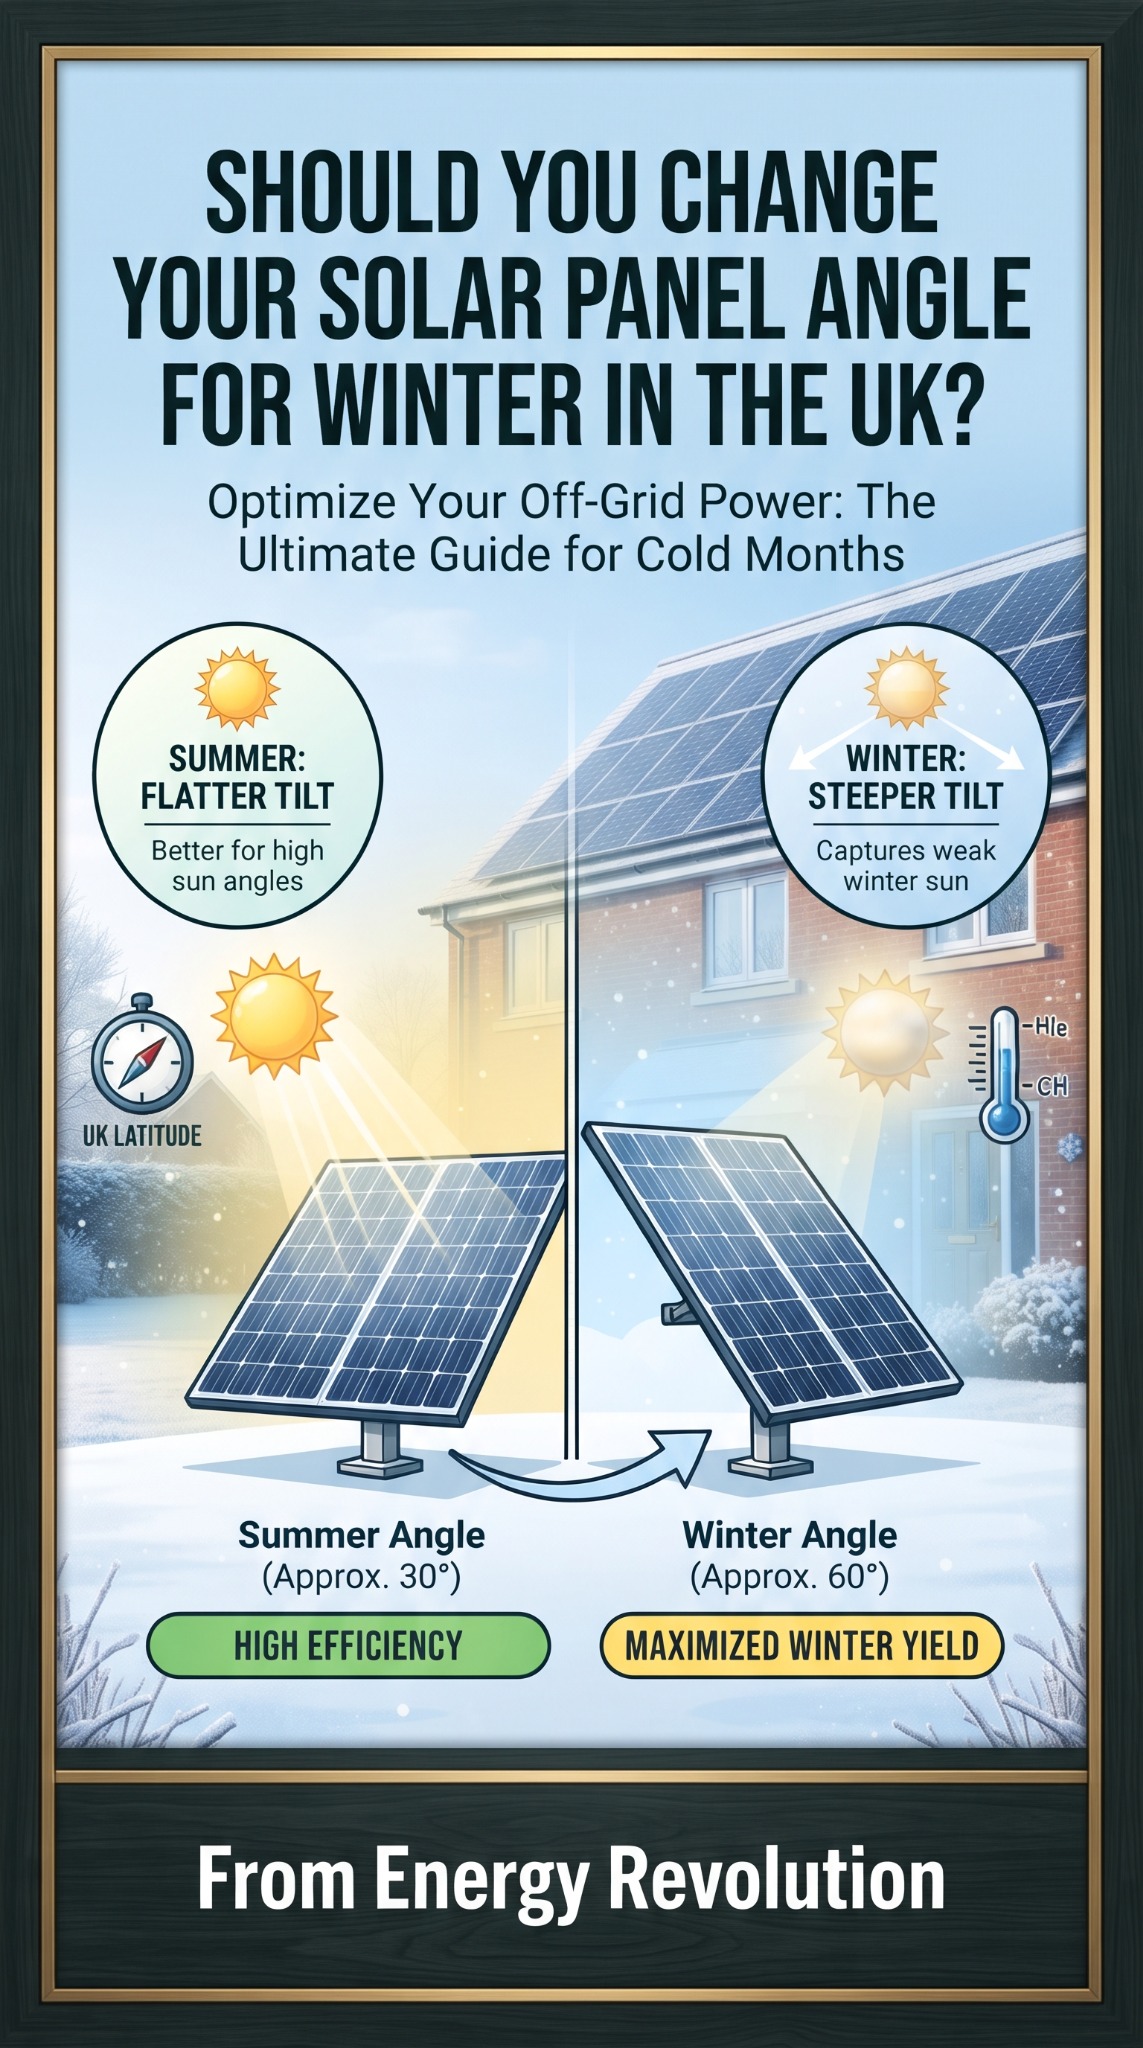
Our Pinterest pin suggests a flatter summer position and a steeper winter position. The basic idea is sound: the UK winter sun follows a lower path across the sky. However, the illustrated 30° and 60° angles are comparison points, not settings that guarantee the best result for every garden, shed or roof.
For a small off-grid system, the right question is practical: could a safe adjustment provide useful extra charging during your difficult months? Here is how to investigate without confusing a sunny afternoon’s wattage with dependable winter supply.
Affiliate disclosure: We may earn a commission from purchases through affiliate links, at no extra cost to you. We also link to our own digital bundle. The model below is an illustration, not a prediction or installation specification for your property.
1. Understand what the angle measures
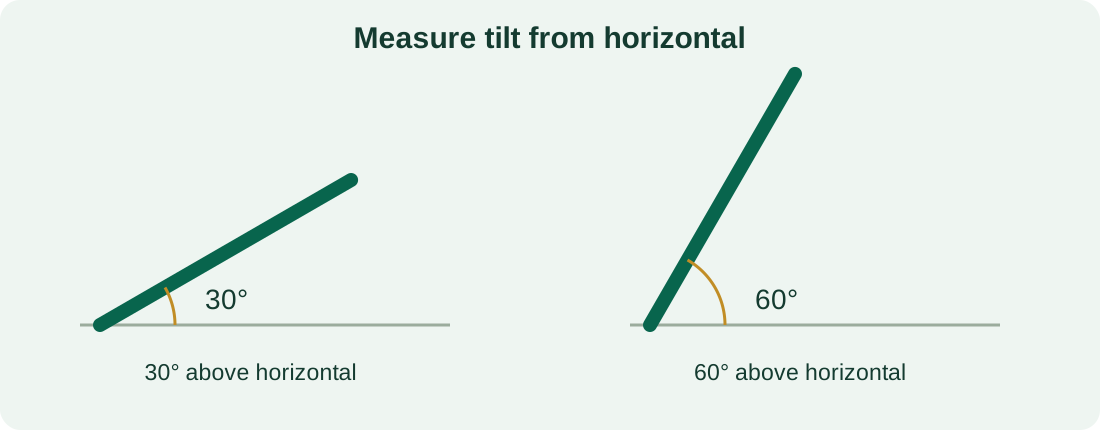
Panel tilt is measured up from horizontal. A panel lying flat is at 0°; an upright panel is at 90°. Direction is a separate measurement: a panel can have a 60° tilt while facing south, east or west.
Tilting towards a low sun can improve the collection of direct sunlight. But panels also receive diffuse light scattered across the sky. Under heavy cloud, pointing more directly towards the sun’s hidden position is not the whole story. A steeper setting cannot restore summer daylight hours or remove a long spell of poor weather.
2. Check whether your installation is meant to move
| Your setup | A sensible starting point |
|---|---|
| Fixed panels on a house or shed roof | Leave them as installed; ask the installer before considering any change. |
| Ground-mounted array with an approved adjustable frame | Check permitted positions, locking arrangements and wind requirements before comparing settings. |
| Portable panel with its own stand | Use only the maker’s supported positions and weather limits; keep it stable and cables protected. |
| Improvised frame or unknown mounting system | Get the support assessed before changing its geometry. |
Raising the back of a roof panel is not simply an energy adjustment. It can affect wind loading, fixings, clearances and the installation’s approved design. Any proposed alteration needs the installer’s assessment, including whether permissions or warranty conditions are affected.
HSE’s roof-work guidance explains why even brief roof tasks need proper precautions. Do not climb onto a shed roof to experiment. Our guide to solar panels on lightweight shed roofs sets out the structural questions to ask.
3. What could changing from 30° to 60° achieve?
We compared two settings using the European Commission’s PVGIS tool. Both runs used the same Birmingham location, a 400W crystalline-silicon array facing south, free-standing mounting and a 14% system-loss input. Only tilt changed.
The calculation used PVGIS 5.3, SARAH3 radiation data for 2005–2023 and the modelled terrain horizon. It did not include a surveyed tree/building horizon or simulate a particular battery and charge controller. Results are long-term model averages, not measurements of an installed system.
| Month | 30° tilt | 60° tilt | Difference |
|---|---|---|---|
| November | 16.02kWh | 19.74kWh | +3.72kWh |
| December | 12.35kWh | 16.22kWh | +3.87kWh |
| January | 14.01kWh | 17.69kWh | +3.68kWh |
| February | 19.78kWh | 22.82kWh | +3.04kWh |
| Four-month total | 62.16kWh | 76.47kWh | +14.31kWh |
That is approximately 23% more modelled energy across these four months. It does not establish 60° as the best angle, and it is not a UK-wide uplift. Your panel direction, local horizon and weather can change the result.
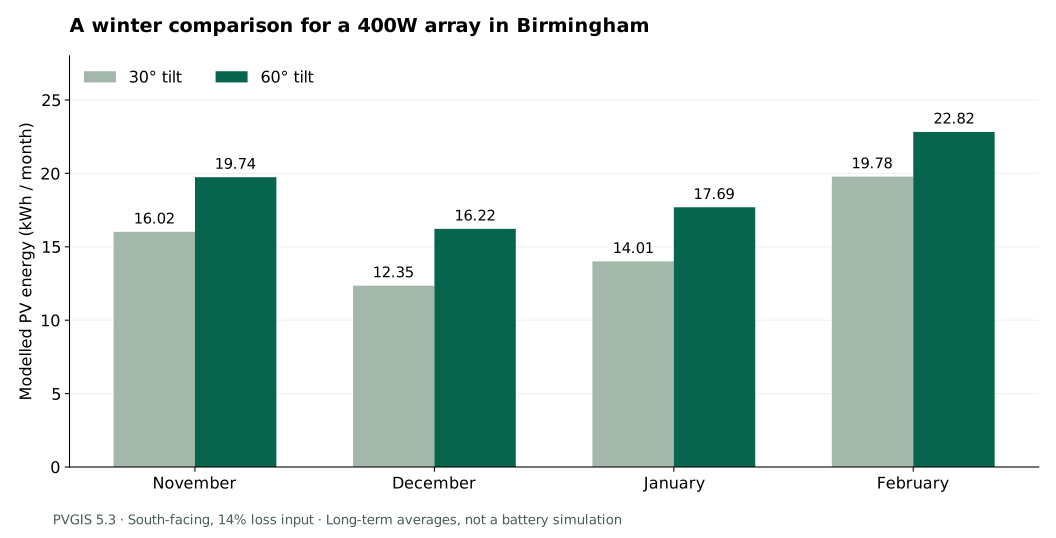
Leaving the example at 60° all year gives about 371.51kWh annually, versus 384.01kWh at 30°. Using 60° only for November–February and 30° for the other months gives an indicative 398.32kWh, calculated from the two runs: about 3.7% above fixed 30°. Neither arrangement was optimised. A sizeable winter percentage can therefore accompany a modest annual gain.
4. Translate the gain into a job your system needs to do
In December, the example’s additional 3.87kWh averages about 125Wh per day. That is an accounting average: a particular dull day may contribute very little. It is not a guaranteed daily allowance.
For scale, a 5W LED used for four hours consumes 20Wh. An extra 125Wh at the model’s output boundary could matter for small lighting or charging loads, but battery storage and conversion may reduce what reaches your appliances. It is not enough to make electric space heating a sensible assumption.
Ask whether your system is actually short of energy. If the battery already fills by lunchtime and the controller limits charging, some additional solar opportunity may go unused. If the battery repeatedly runs low, extra generation may be more valuable—but first check shading, charging restrictions and consumption.
For essential loads, retain a plan for poor-weather runs. Our three-cloudy-days reserve guide helps separate a seasonal improvement from the backup you still need.
5. Look at winter shadows before choosing an angle
A fence, hedge or neighbouring building can block the low winter sun even where summer performance looks excellent. Tilting the panel more steeply will not make sunlight pass through an obstacle.
Observe the proposed position at several times on a clear winter day, from a safe location. Record when sunlight reaches the entire panel and when it disappears. Check whether one row would shade another after adjustment. Keep these observations separate from assumptions based on an unobstructed weather forecast.
Energy Saving Trust’s installation guidance highlights both orientation and shading when assessing a site. Our shaded-shed solar guide provides a practical starting point for recording obstacles.
6. Compare settings for your own location
PVGIS provides a useful first comparison. Its user manual explains the inputs and angle conventions. Its automatic optimum-tilt option targets annual output, which is a different aim from helping your weakest winter months.
- Select your location and enter the actual panel capacity and direction.
- Run the current tilt, keeping a note of the loss and mounting assumptions.
- Repeat at a mechanically permitted alternative, changing only the angle.
- Compare monthly energy for the months you use the system.
- Assess local shade and storage separately before treating the difference as useful appliance energy.
The standard PV energy tool estimates generation without modelling your battery. It is useful for comparing orientations, but a detailed off-grid design needs storage, demand and charging limits too.
7. Make any adjustment safe, repeatable and worth the effort
For a suitable adjustable mount, follow the manufacturer’s procedure, including any required electrical isolation. Do not pull solar connectors apart under load. Record the original position and use the specified locking points; a loose prop is not an approved support.
Check wind suitability, secure attachment, cable slack and drainage at the proposed setting. Portable does not mean safe to leave outside in every weather condition. If handling requires a ladder, heavy lifting or uncertain fixings, involve the installer rather than experimenting.
Keep a simple log: angle, daily energy, weather, shading, battery state and unusual loads. Comparing one cloudy day at 30° with one sunny day at 60° proves little. Use several observations to check behaviour, alongside the longer-term model.
Finally, compare the benefit with the complete cost: approved hardware, labour, access and ongoing attention. A free, supported adjustment on an accessible frame is a different proposition from paid rooftop alterations. Check the Recommended Products page when researching equipment, but verify each product’s mounting and input specifications; a solar kit is not automatically seasonally adjustable.
Frequently asked questions
Is 60° the best winter angle everywhere in the UK?
No. It is a useful comparison angle, not a universal optimum. Latitude, direction, local obstructions and the months being prioritised all matter.
Should I change the angle every month?
Not automatically. Compare the additional useful energy with the work and risk. A suitable seasonal setting may be simpler; fixed mounts should remain as designed.
Will a steeper angle help on cloudy days?
It may change collection, but there is no guaranteed daily improvement. Diffuse light, cloud conditions and the visible sky affect the outcome.
Does cold weather stop solar panels working?
Cold alone does not stop a panel generating. Short days, low sunlight and shade limit winter energy; battery charging-temperature limits are a separate issue.
Should I tilt panels to clear snow?
Do not alter a fixed installation or climb onto a roof for this purpose. Snow behaviour is not a substitute for a designed mounting arrangement and safe access.
Choose the useful winter gain
Start with a safe mounting system, check winter shade, then compare monthly energy. A steeper tilt may be worthwhile when it delivers electricity you can use at the time you need it. It will not turn a small winter array into an unlimited power supply.
For wider project ideas, explore our DIY Alternative Energy Projects bundle, with its ebook and additional project pack, or view the bundle on Payhip.
Explore the separate energy offer
If you are comparing further energy information, review the seller’s contents, price and terms before buying. This paid affiliate offer is separate from the PVGIS model and is not an installation design service.
View the linked energy offer