
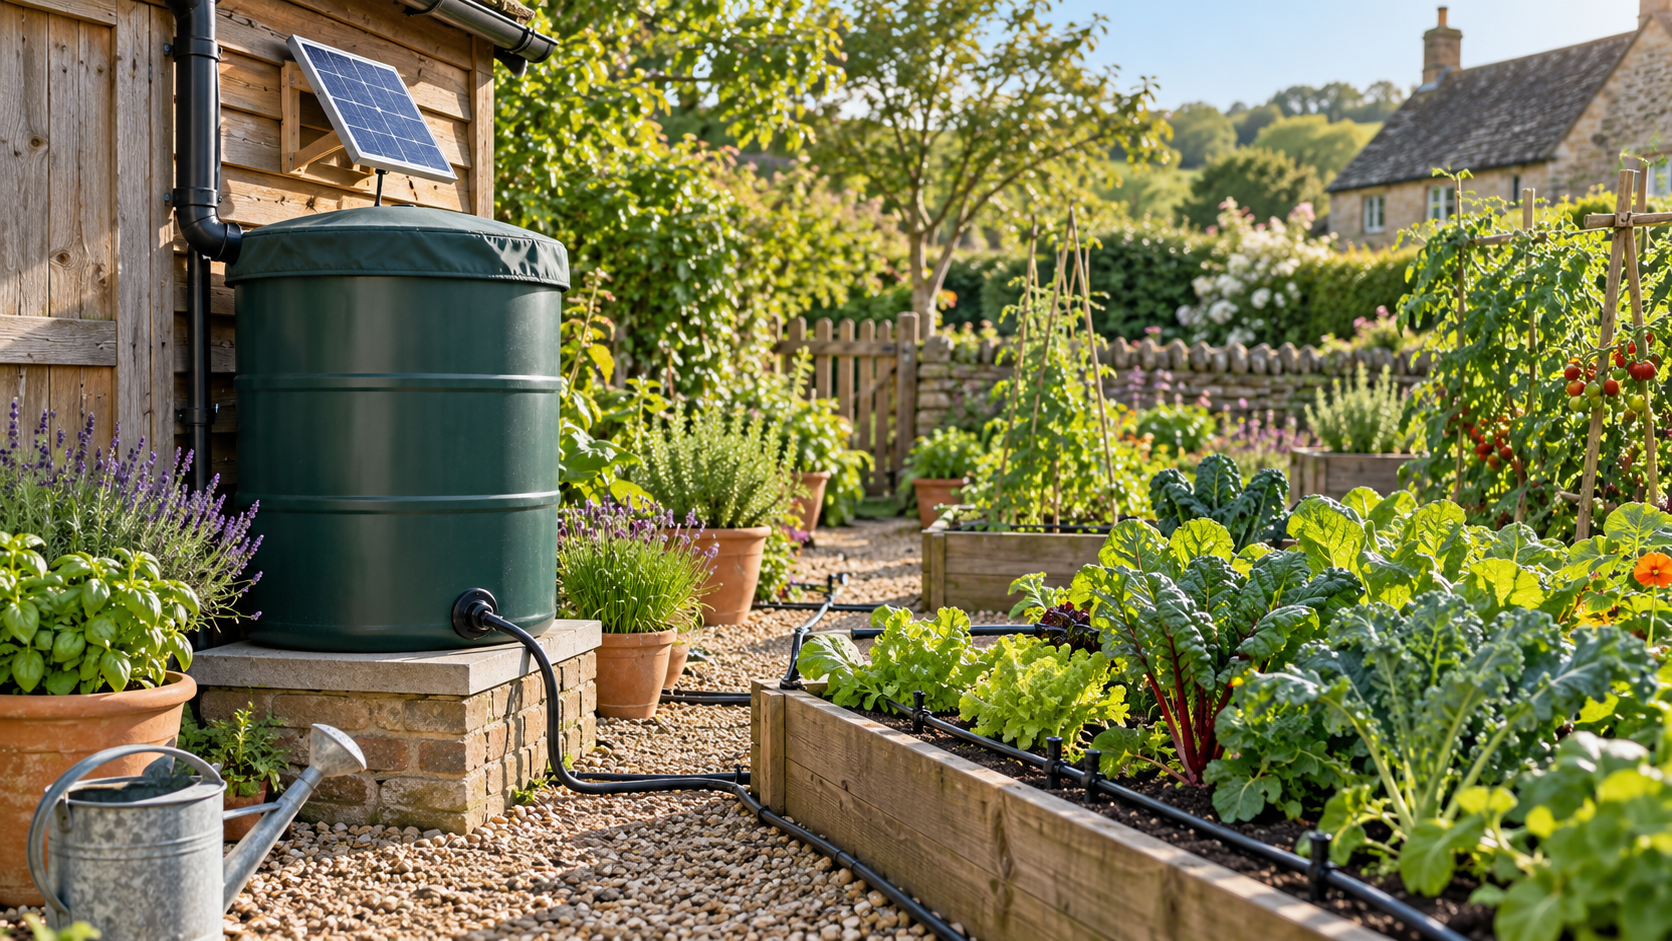
Check three things before choosing a solar kit
Lift is the vertical height the water must overcome. Pressure is what remains available to operate the drippers. Flow is the volume delivered over time. A suitable system must meet all three requirements together, with the water butt approaching its lowest usable level.
A water butt, sunshine and a few lengths of tubing sound like an easy way to keep pots watered. Sometimes they are. The difficulty comes when a pump lifts water successfully but the farthest drippers barely wet the compost.
That does not automatically mean you need a larger solar panel. The restriction could be the drippers, pipework, filter, suction arrangement or available pressure. A few measurements before buying will help you distinguish a practical small system from a collection of incompatible parts.
1. Choose the type of system first
There are three useful starting points. A gravity kit uses the height of stored water and needs emitters explicitly suitable for low pressure. A purpose-built solar watering kit combines a matched pump, controller and drippers. A separately specified pump system requires you to match its pressure and flow to the irrigation components.
For a modest collection of pots, a matched kit can reduce the guesswork. However, “waters 20 plants” is not a complete specification. Large tomatoes, small herbs and hanging baskets have different needs, while layout and weather affect delivery.
Ask for the instructions for the exact model. Do not apply one manufacturer’s limits to another kit, or assume a replacement dripper works because its connector fits.
2. Measure lift from the water surface
Sketch the water butt, pump and planting areas. Mark the highest dripper and the lowest water level you intend to use. The vertical difference between those two levels is the static elevation rise for that route.
For example, if a raised-bed dripper is 1.4 metres above the butt’s lowest usable water surface, the elevation rise is 1.4 metres. The distance along a winding hose is a separate measurement: it affects friction, not static elevation.
For a surface pump above the water, also record the vertical suction lift to its inlet. A pump may have separate limits for suction height, delivery height and tube length. Irrigatia’s C12L/C24L instructions, for example, distinguish these limits. They are model-specific, not universal solar-pump allowances.
Measure with the butt nearly empty as well as full. Falling water increases suction lift and the rise to the plants. Follow the pump’s priming instructions; “self-priming” does not mean it can lift water from any depth or run indefinitely without water.
3. Translate height into pressure
For water, one metre of vertical head is approximately 0.098 bar; one bar corresponds to roughly 10.2 metres. These are physical conversions, not a promise of usable flow.
| Water surface above dripper | Approximate static pressure |
|---|---|
| 0.5 metres | 0.049 bar |
| 1 metre | 0.098 bar |
| 2 metres | 0.196 bar |
This explains why putting a butt on a modest stand will not reproduce mains-water pressure. Never build an improvised tall tower to chase a pressure rating: 200 litres of water alone weighs about 200 kilograms. Use a stable, load-rated support.
Check the emitter’s minimum operating pressure. Some Rain Bird pressure-compensating emitters specify a 1.0–3.5 bar range. Those are very different requirements from a purpose-designed low-pressure kit. “Pressure compensating” means controlled delivery within the specified range, not operation at any pressure.
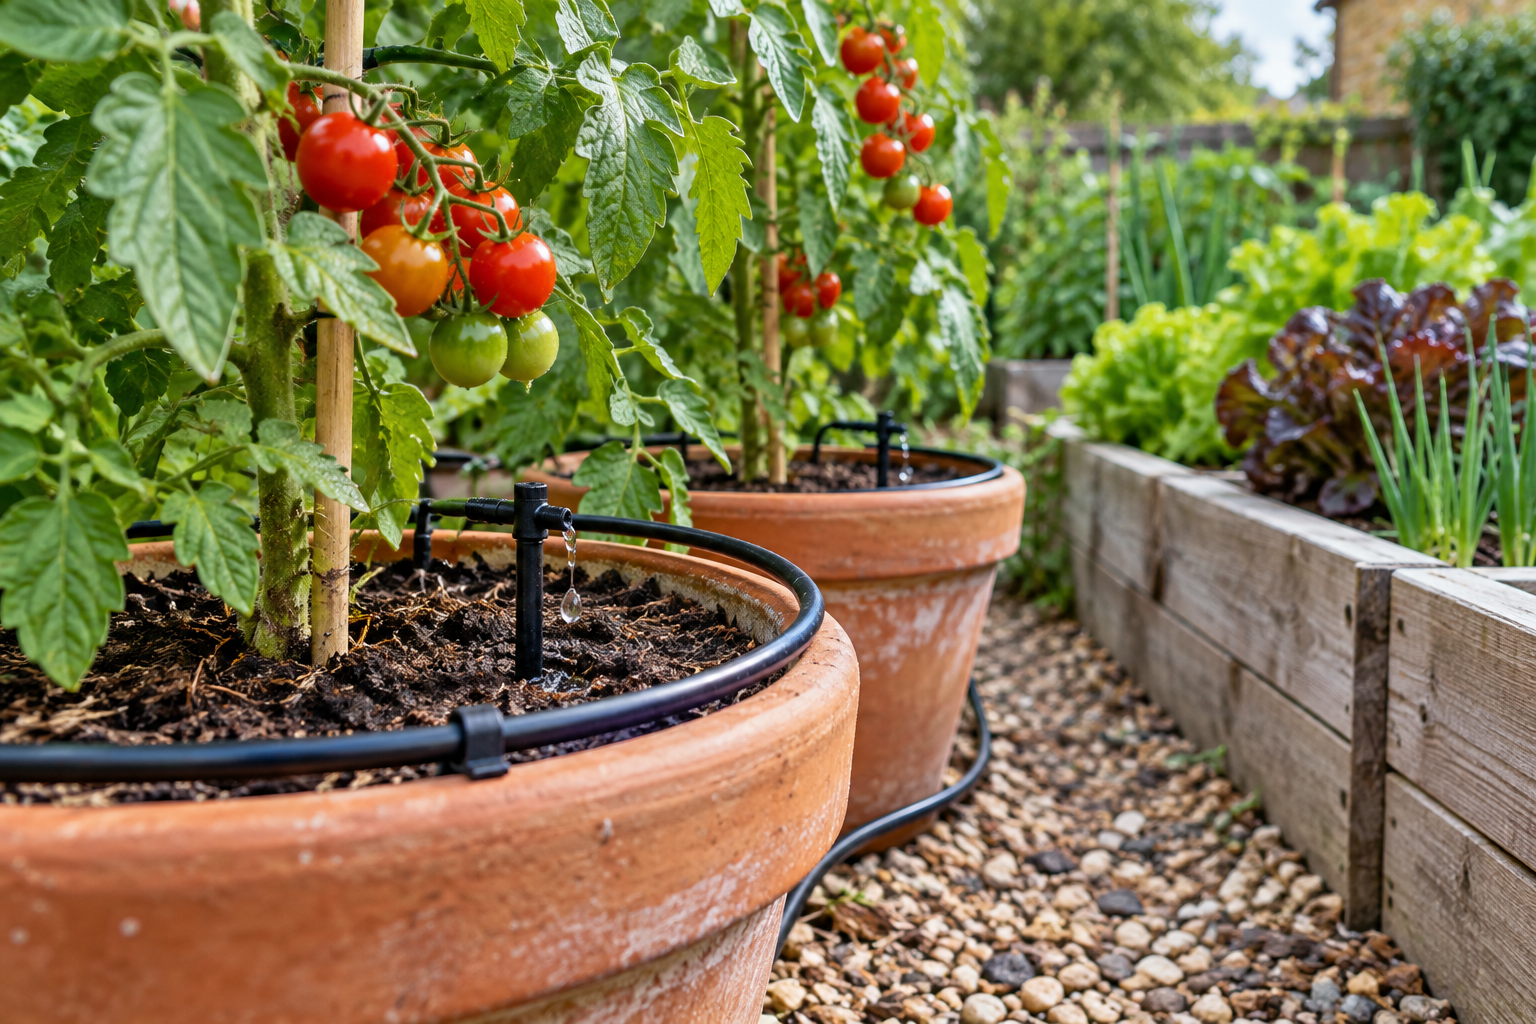
4. Read head and flow together
A listing might advertise “maximum flow 300 litres per hour” and “maximum head 3 metres”. Do not assume the pump delivers 300 litres per hour at 3 metres. These headline figures commonly describe different operating conditions.
Use the pump’s performance curve or a manufacturer-confirmed duty point: a stated flow at a stated total head. Grundfos explains how the curve links these requirements. Maximum head on a typical centrifugal pump corresponds to little or no flow; other pump types need their own performance and control information.
For a separately designed system, estimate the required pump head as: elevation rise + pressure needed at the drippers + friction and component losses. Do not add suction elevation twice if it is already included in your water-surface-to-dripper measurement.
Here is a hypothetical calculation. Suppose the rise is 1.5 metres, the chosen emitters need 0.5 bar, and the supplier estimates another 1 metre of loss at the intended flow. The requirement is approximately 1.5 + 5.1 + 1 = 7.6 metres of head at that flow. The loss allowance is illustrative; obtain one for your actual layout.
A pump labelled “maximum head 5 metres” would not meet that example. A matched low-pressure kit could still suit the garden with its own emitters. The garden has not become unsuitable for solar watering; the proposed components need reconsidering.
5. Calculate flow and daily water demand
For emitters with a specified flow at your operating pressure, add the outlets running simultaneously. Twelve 2-litre-per-hour drippers require 24 litres per hour, or 0.4 litres per minute. Thirty minutes would deliver 12 litres overall and one litre per outlet, assuming each achieves its rating.
That is arithmetic, not a watering prescription. Plant size, compost, rainfall and exposure determine whether one litre is appropriate. Check moisture in the root zone rather than judging only the dry surface.
Do not use this fixed-output assumption for a kit whose pump distributes a limited volume among its drippers. Adding outlets can reduce the amount each receives. Establish the kit’s total delivery and measure the share reaching each plant.
Calculate reserve using usable water, not barrel capacity. An illustrative 180 usable litres at 12 litres a day lasts 15 days before allowing for extra demand, leaks or a safety margin. It is not a dependable holiday duration until you have tested the system under comparable conditions.
Exploring other solar ideas? You can view the separate Energy Revolution offer and seller’s terms. This promotional link is not a recommendation for a compatible irrigation pump.
6. Keep the pipework and filter from wasting pressure
Long, narrow tubing and restrictive fittings increase losses. Grundfos’s hydraulics guidance explains why pipe diameter and flow matter. Use the kit’s specified tubing, respect run-length limits and avoid tight bends or crushed sections.
In a custom layout, ask whether a larger distribution pipe with short branches would help. Do not casually change tubing on a proprietary kit: its pump, fittings and emitters may have been designed together.
Fit the manufacturer-specified filtration, keep the intake away from settled sludge and provide access for cleaning. Flush lines as instructed before connecting or recommissioning emitters. A clean-looking barrel can still contain particles capable of obstructing small waterways.
A pressure regulator reduces excess pressure; it cannot boost an underpowered supply. If one is required, verify its inlet requirements and flow range. Netafim’s regulator information illustrates that component selection depends on the application.
7. Position the panel and manage stored water
Keep the panel clear of growing foliage and seasonal shadows. Our shed shade-mapping guide provides a useful observation method. Confirm whether the chosen kit pumps directly in sunlight or charges a battery, and how its watering schedule responds to available energy.
Some solar systems deliberately vary delivery with sunshine. Battery storage does not guarantee the same runtime every day. Watch actual operation during cloudy spells before relying on automatic watering.
Many small kits operate entirely on low-voltage DC and need no mains inverter. If you are considering a separate mains-powered pump, read our guide to shed inverter capacity and have outdoor electrical arrangements professionally assessed.
Keep the butt covered and its base secure. The RHS recommends keeping collection systems clean and cleaning water butts annually. Use suitable stored rainwater, not greasy household wastewater that can obstruct irrigation components.
If any outlets lie below the water surface, check the instructions for an anti-siphon device. Otherwise water may continue moving after the pump stops. The Irrigatia Q-series manual includes model-specific anti-siphon guidance. Retain low-water protection and follow winter draining and storage instructions.
8. Test delivery before leaving it unattended
Commission the complete layout with every intended outlet operating. A vigorous stream from an open hose does not establish performance once the drippers are attached.
- Place measuring containers beneath representative near, far, high and low outlets without changing their normal heights.
- Run a timed test, or collect a complete watering cycle if the controller varies runtime.
- Record each volume and compare outlets of the same intended rating.
- Repeat near the lowest usable water level without allowing the intake to run dry.
- Check soil moisture over several days and adjust the schedule or layout.
For example, 100 millilitres collected in ten minutes equals 0.6 litres per hour. If a comparable outlet collects only 25 millilitres, investigate rather than simply extending the whole system’s runtime. Look for blocked emitters, kinked tubing, suction leaks, excessive height differences or a dirty filter.
For adjustable or differently rated outlets, unequal collections may be intentional. Compare measured delivery with each plant’s requirements and the manufacturer’s specification. Keep a simple log of water level, weather, runtime and collected volumes.
Frequently asked questions
Can I run drip irrigation from a water butt without a pump?
Yes, if the emitters are designed for the available gravity pressure and the layout meets their requirements. Check performance as the water level falls.
Does a bigger solar panel fix weak drippers?
Only if insufficient electrical supply is the limiting factor and the replacement is compatible. It will not clear a blockage or make a pump exceed its hydraulic capability.
Can I put pots and hanging baskets on the same circuit?
Possibly, within the kit’s permitted height differences and capacity. Test delivery at both levels; separate zones or systems may be easier to balance.
Measure first, then choose the equipment
Record the lowest water level, highest outlet, pipe lengths, emitter requirements and daily demand. Give suppliers those figures and ask them to confirm performance for the complete layout. A short collection test then checks whether the installed system delivers what your plants need.
Explore the wider energy offer
For broader energy ideas, review the seller’s product information, price and terms. This is a separate affiliate offer, not a verified irrigation kit or a guarantee of savings.
View the Energy Offer and Purchase Details