
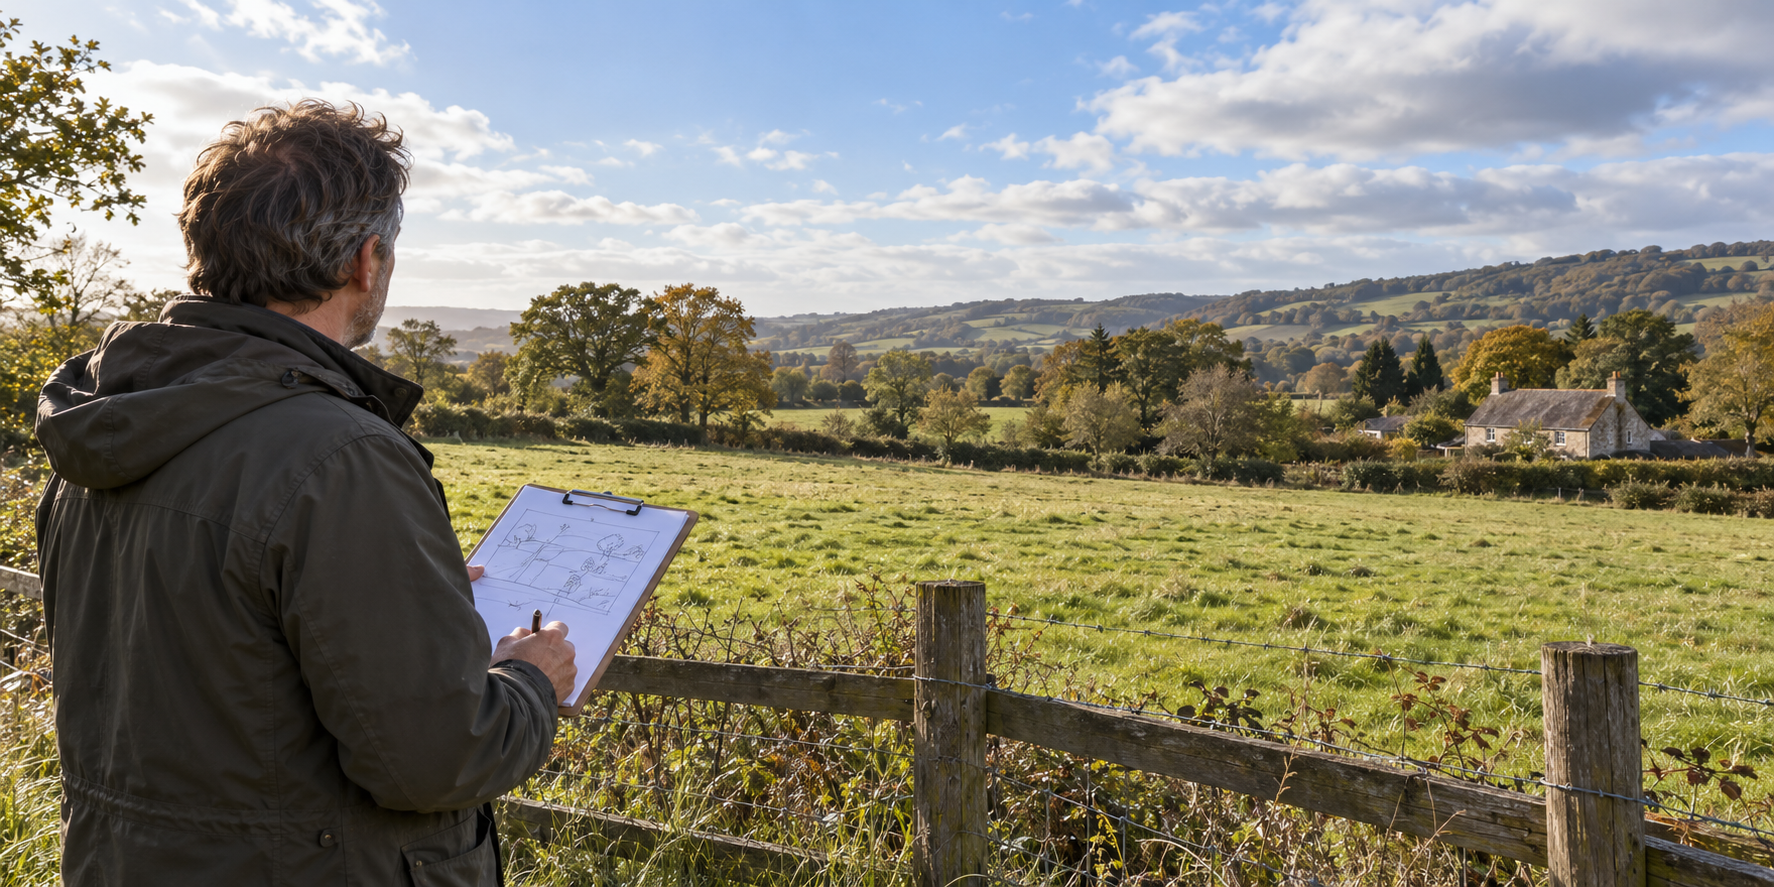
What should a wind-site log contain?
Prepare a site sketch, dated photographs, an obstacle list, consistent observations and a clear statement of your electricity needs. Identify every reading’s source, location and height. This gives an installer useful context for an initial assessment; it does not establish annual wind speed or guarantee turbine output.
“It is always windy here” is an understandable starting point for a small-wind enquiry, but a poor basis for an expensive purchase. The gust that slams your gate may say more about airflow around a building than the conditions a turbine would experience above it.
A good log helps an installer understand your property before visiting. It can reveal obvious constraints, reduce repeated questions and show what further assessment is needed. You do not need to buy a mast or choose a turbine to begin.
Keep a homeowner log separate from a wind-resource survey
A homeowner log records what you can safely observe and document. A professional resource assessment evaluates the wind at the proposed rotor location and height, using suitable measurements, modelling and uncertainty analysis.
The US Department of Energy’s Small Wind Guidebook discusses on-site measurement systems and recommends running them for at least a year to capture seasonal variation. That is a different exercise from taking occasional handheld readings over a fortnight.
You can approach an installer before undertaking a long measurement campaign. Ask whether the site merits further investigation and what data would justify a firm proposal. A useful early outcome may be a recommendation to investigate another location or technology.
1. Write a one-page project brief
Start with the property location, your contact details and the purpose of the project. Explain whether you want to reduce electricity imports, complement solar generation or supply a separate off-grid load.
Include annual electricity use if known, plus the seasonal pattern. A turbine serving a workshop used occasionally has a different job from one supporting a continuously occupied home. Note any existing solar, battery or backup equipment without assuming it can accept wind generation.
State a realistic budget range and any firm constraints, such as access, land ownership or reluctance to install a tall tower. Our home-energy planning guide can help you organise the demand side before discussing machinery.
2. Draw the site and label possible positions
Use a simple plan with a north arrow, a scale where possible and the property boundary. Label candidate positions A, B and C so every photograph and observation refers to the same place.
Mark buildings, tree groups, hedges, slopes, gates, neighbouring properties and visible overhead services. Show possible access for installation and maintenance, plus the approximate route back to the proposed electrical connection point.
Separate measured dimensions from estimates. “About 25m, estimated from map” is more useful than a precise-looking distance with no explanation. Do not assume a boundary visible on an aerial photograph establishes legal ownership.
Leave tower height as “to be assessed” if it has not been discussed. Your sketch identifies options; it does not certify foundations, clearances or permission to build.
3. Make an obstacle register
At each candidate position, note surrounding obstacles by direction. Include their approximate distance, estimated height and whether their shape changes seasonally, such as deciduous trees.
| Direction | Feature | What to record |
|---|---|---|
| West | Tree belt | Estimated distance and height; leaf-on photographs |
| North-east | Neighbouring building | Approximate outline; height not verified |
| South | Open field | Terrain slope and any known future development |
| East | Access route | Gate width, surface and visible services |
The Energy Saving Trust highlights exposed sites and the limitations of built-up or sheltered locations. Your register helps an installer assess those constraints rather than relying on the broad description “rural”.
Record obstacles honestly even if they weaken the case for your preferred position. Do not propose removing protected trees or modifying neighbouring land as an assumed part of the project.
4. Take a repeatable set of photographs
From a safe ground-level position, photograph views towards north, east, south and west. Add intermediate directions if important obstacles would otherwise be missed. Take one wider image showing how the candidate position relates to the house.
Name files consistently: for example, “A-west-2026-10-04.jpg”. Keep a short photo index with location, facing direction and date. If you return later, stand at the same marked observation point where practical.
Include access routes and terrain, but avoid unnecessary photographs of neighbours or private interiors. A short video can illustrate visibly changing airflow in vegetation, yet it cannot measure annual wind resource or turbulence intensity.
Optional paid resource: Exploring wider energy options? You can view the linked energy offer. It is separate from wind surveying and installation services; we have not tested it or verified its performance claims.
5. Keep observations consistent and clearly labelled
Choose observation times you can maintain, including quiet conditions rather than only windy afternoons. A short initial diary over a few weeks can organise your enquiry, but it must remain labelled as an introductory sample.
Record date, time and timezone, position, conditions and method. Use plain descriptions such as “brief gusts with pauses” or “direction appears variable around the shed”. Do not convert visual impressions into invented metres-per-second readings.
Wind direction conventionally describes where the wind comes from: a westerly arrives from the west. Record how you determined direction and whether a compass reference was true or magnetic north if known. Mark uncertain observations as uncertain.
| Date/time | Position and method | Observation | Limitations |
|---|---|---|---|
| 4 Oct, 09:00 BST | A; visual, ground level | Tree branches moving intermittently; apparent west wind | No instrument; direction estimated |
| 4 Oct, 18:00 BST | A; visual, ground level | Little visible movement | Not recorded as zero wind speed |
| 5 Oct, 09:00 BST | A; no observation | Observer unavailable | Missing data, not a calm reading |
That final distinction matters: “missing” and “calm” are different. Leave gaps visible instead of filling them with guesses or nearby forecast values.
6. If you already have a meter, preserve its context
For every instrument, record make, model, units, sensor height above ground, mounting arrangement, location and any calibration information supplied. Note nearby obstructions and changes to the setup.
Record whether a number is an instantaneous reading, an average over a stated interval or a maximum gust. Do not place all three in a column simply labelled “wind speed”. Keep the original exports and the instrument’s documentation.
The Met Office explains its standard 10m measurement arrangement. That provides weather-observation context, not an instruction to measure every turbine site at 10m. The turbine’s proposed hub height and local exposure are central to its assessment.
A meter near a fence may describe conditions near that fence quite accurately while being unsuitable for predicting a rotor’s output higher up. Do not apply a generic height multiplier and present the result as measured hub-height wind.
7. Separate weather-app information from on-site measurements
Save regional weather information in a different section. Label it as a forecast, observation or modelled estimate, and record the provider, location, date and stated measurement or model height where available.
The Met Office observations network provides readings from observation sites. The closest available station may have very different terrain and exposure from your garden.
Regional information can explain why a day was unusually windy or quiet. It cannot simply replace missing site readings. Ask the assessor whether a suitable reference record could help put a properly collected local dataset into a longer-term context.
8. Avoid the tempting shortcuts
A high gust does not establish a productive site, and a single average speed does not describe the full wind-speed distribution. Annual energy depends on how often different wind conditions occur and how the chosen turbine responds.
Do not multiply a turbine’s advertised kW rating by every hour in the year. Rated power is not continuous output. Likewise, feeding a simple average wind speed into a power curve does not generally produce the annual energy estimate.
Visible gustiness is worth recording, but professional turbulence assessment needs appropriate data and methods. The log should flag a question for the installer rather than assign a made-up turbulence score.
Our roof-versus-pole turbine guide explains why mounting location matters. A sheltered property may not suit either option, even if wind can be heard around the roof.
9. Ask before buying or erecting monitoring equipment
If the first review looks promising, ask the installer to specify a measurement plan. It should address sensor quality, location, height, logging intervals, duration, maintenance, data recovery and who interprets the results.
Keep your own observations at ground level. Do not climb a roof, lash a pole to a chimney or raise a mast beside overhead services to improve the log. HSE warns about approaching overhead power lines; direct contact is not the only danger.
Any monitoring structure needs competent consideration of stability, access and applicable permissions. A temporary installation is still equipment that must be safely erected and maintained.
10. Send one organised enquiry pack
Combine the project brief, sketch, photo index, obstacle register and diary into clearly named files. Include raw instrument exports separately if you have them, keeping the original units and timestamps.
Add a limitations note: for example, “Three weeks of ground-level observations; no hub-height measurements; tree heights estimated.” It shows the installer what is known and what must still be checked.
List known constraints such as land access, nearby homes, sensitive locations and services. Ask who will assess planning, noise, foundations and electrical connection requirements for your jurisdiction. Do not treat the enquiry pack as evidence that any of these have been approved.
Questions that make quotes easier to compare
- Is this a preliminary budget or a site-assessed proposal?
- What further measurements or inspections are needed?
- Which turbine position and hub height underpin the estimate?
- What wind data, power curve and uncertainty assumptions are used?
- Does annual generation allow for losses, availability and site conditions?
- Are foundation work, access, cabling, permissions and maintenance included?
Send the same information to each installer and ask them to identify assumptions they changed. Our backup-power guide can also help clarify whether resilience is part of the brief; generation equipment alone does not guarantee power during an outage.
Frequently asked questions
Do I need a year of readings before making contact?
No. An initial enquiry can happen first. The installer should explain what evidence is needed before you commit to a specific system and performance estimate.
Can a phone app measure my garden’s wind?
An app displaying a forecast does not measure local airflow. If it connects to a genuine sensor, record that sensor’s specification and setup separately.
What if the log suggests poor conditions?
That is useful information. Investigate alternatives before spending on hardware, using the same approach as our solar shade-mapping guide: check the resource before choosing equipment.
Make the first conversation evidence-based
A useful wind-site log is clear about location, method and uncertainty. It helps a good installer ask better questions and decide whether more investigation is worthwhile. If you explore the optional paid energy presentation, keep it separate from the site assessment.
Explore the linked energy offer
Optional paid affiliate resource. We have not tested the product or verified its claims. It does not replace wind measurements or professional installation advice. Review contents, price and terms before purchasing.
View the energy offer — affiliate linkSources and further reading
Checked 4 October 2026. Example log entries are fictional. US technical guidance is used for measurement principles, not UK planning requirements.