
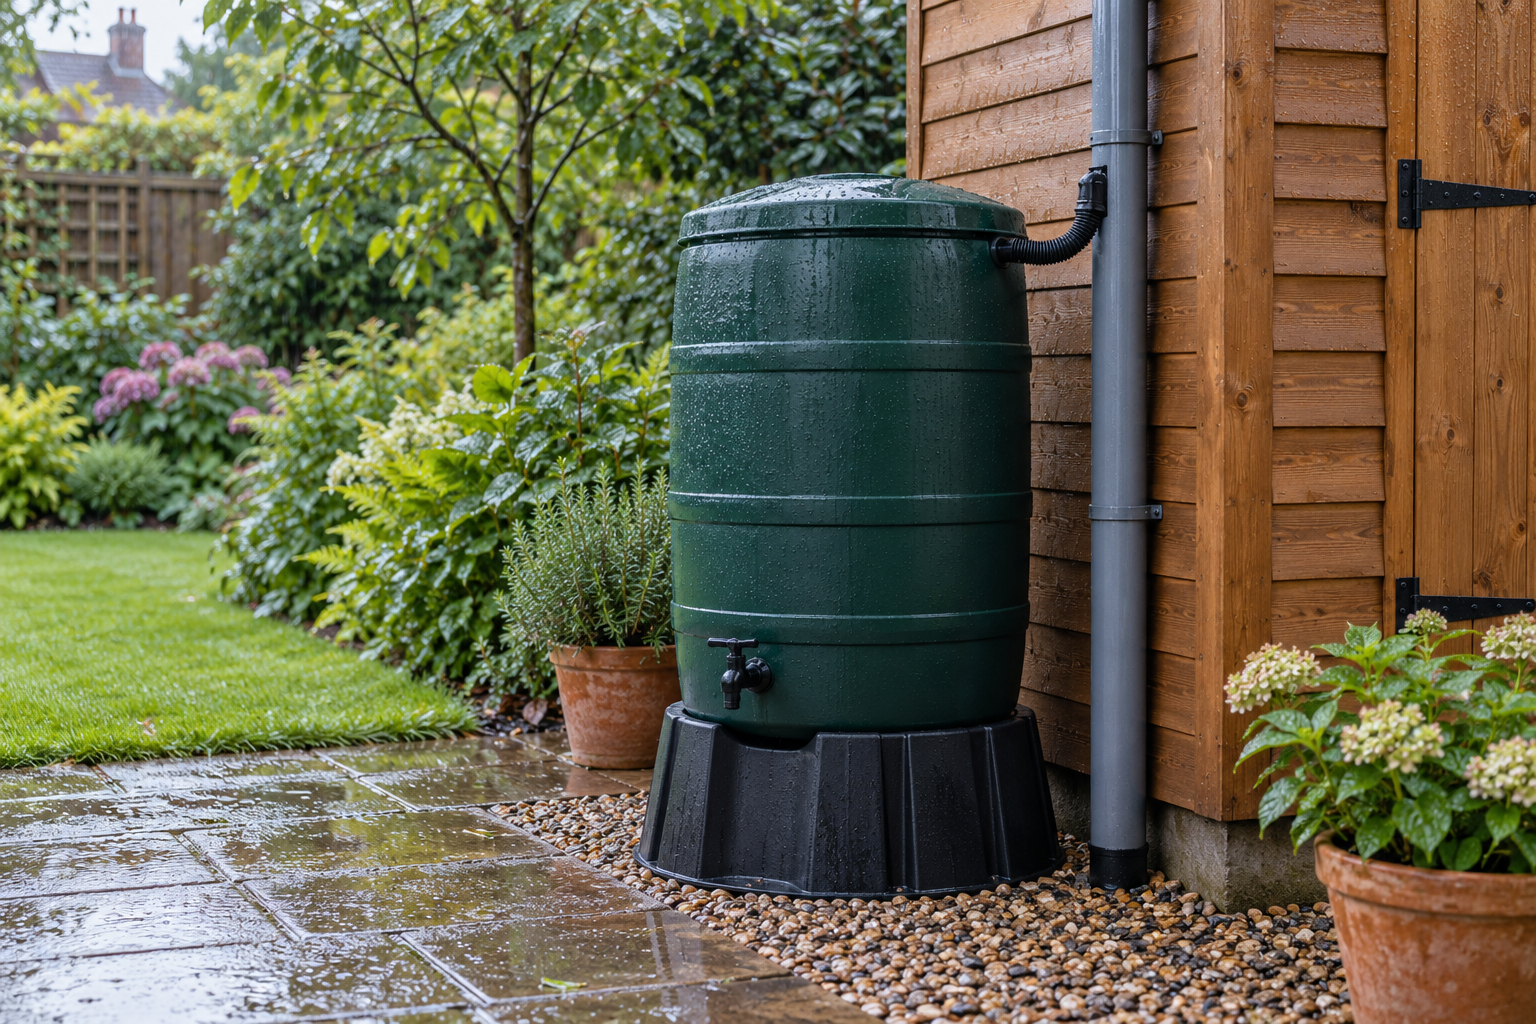
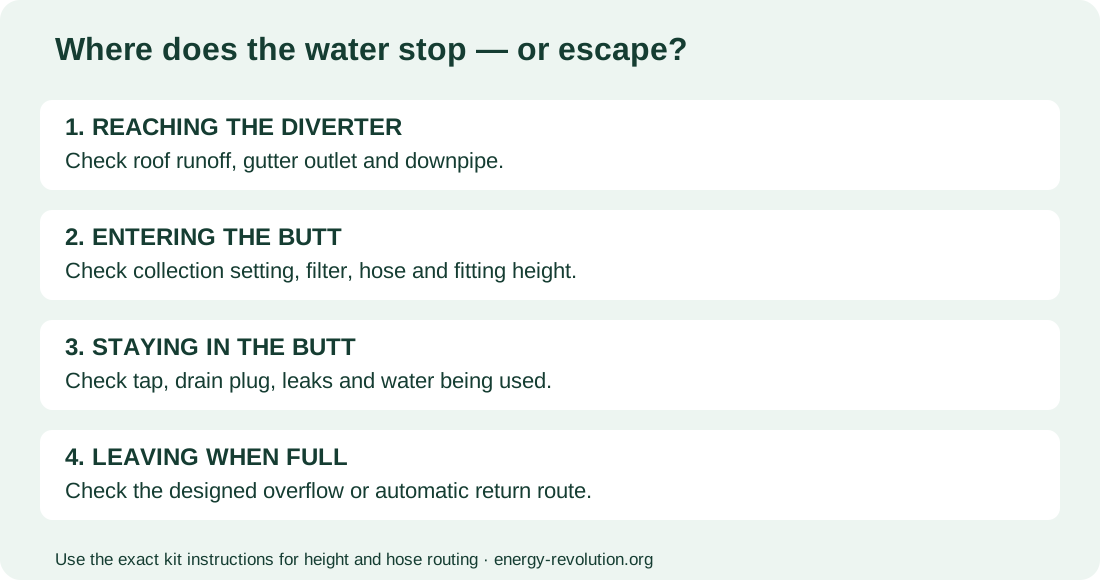
You have fitted a water butt, the garden has had a good soaking, yet there is barely enough stored water to fill a watering can. Before buying a bigger tank, follow the rain’s route: roof, gutter, downpipe, diverter, connecting hose and finally the container.
Start with three questions: is water reaching the diverter, can it travel into the butt, and is it staying there? A clogged filter, incorrect fitting height or open drain can produce a similar-looking result, but each needs a different fix.
One important distinction: a blocked overflow normally causes spilling or backing up, rather than an empty butt. An overflow fitted too low, or another unintended outlet, can let water escape before the container reaches its intended level.
First, decide what “not filling” means
Look at the water level safely through the lid opening, then secure the lid again. An empty watering can beneath a slow tap does not prove the tank is empty: the tap itself may be obstructed, or the remaining water may sit below its outlet.
| What you notice | First area to investigate |
|---|---|
| It has never collected water | Diverter mode, assembly, pipe compatibility and installation height |
| It filled previously but has stopped | Debris, hose damage, seasonal settings or a new leak |
| It always stops at the same low level | Diverter control height, overflow height or a leaking fitting at that level |
| It fills during rain, then empties | Tap, drain plug, irrigation outlet, tank damage or connecting pipework |
| Water spills over the rim | Overflow route, diverter height or a drainage obstruction |
Take a photograph and mark the starting level on a removable strip of tape. Record what happens during the next useful shower. Changing several things at once makes it harder to identify the actual fault.
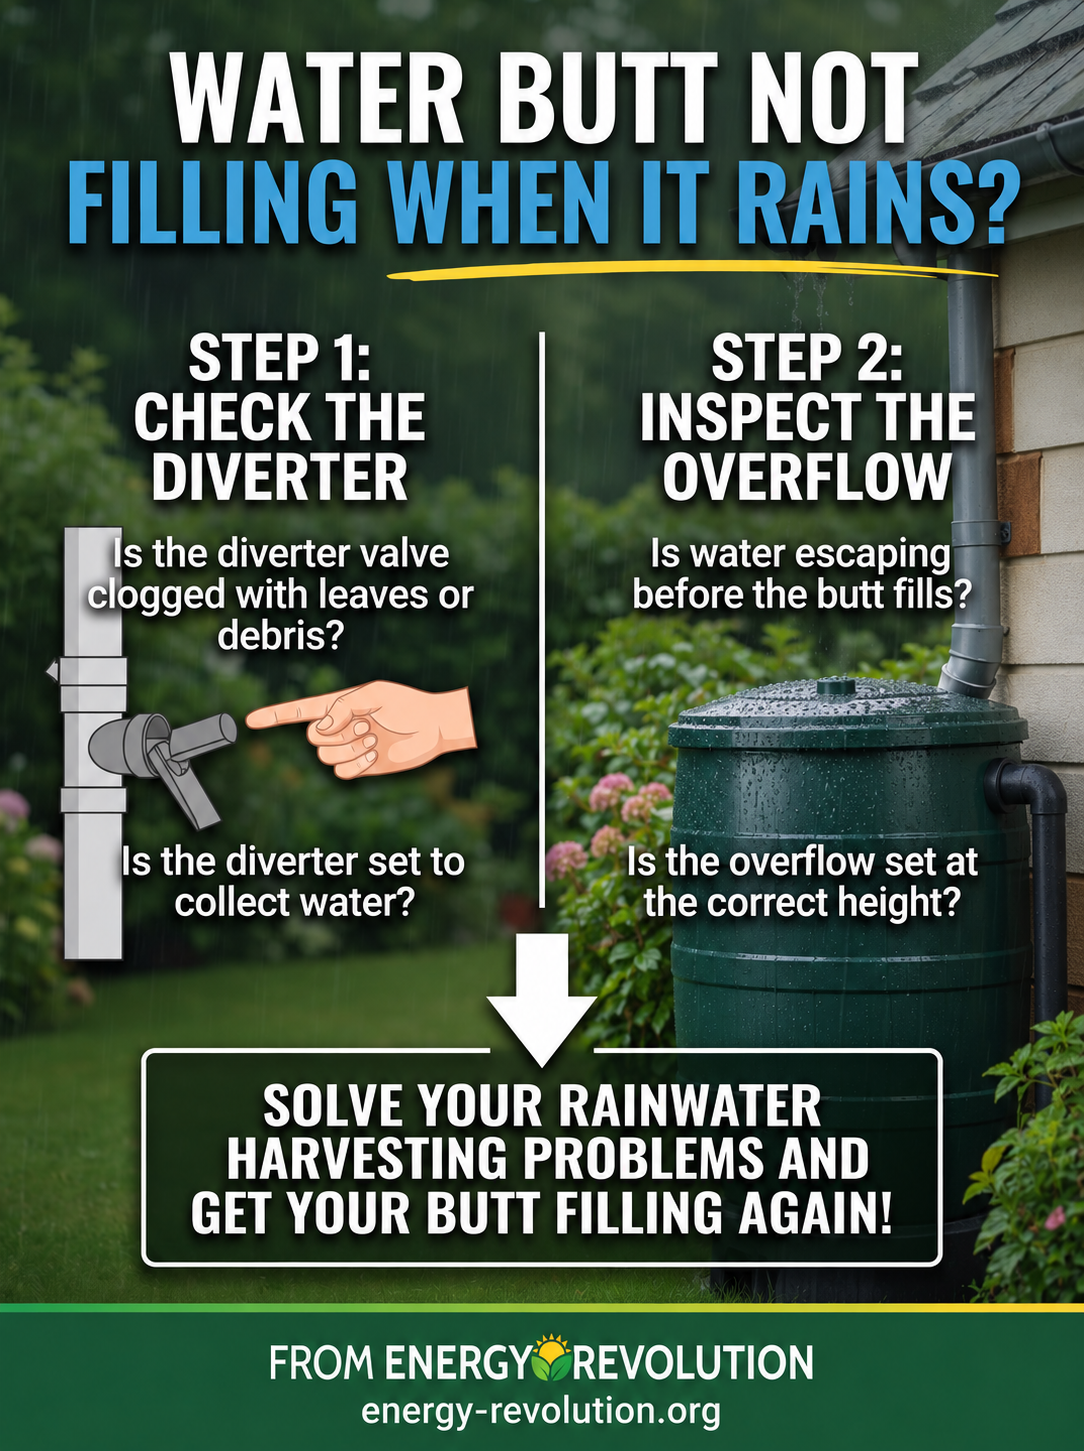
1. Check whether enough rain reached the right roof
A wet patio is not a measurement of how much water reached your butt. Light drizzle may wet the roof without delivering much runoff. A small shed roof also collects much less than a large house roof during the same shower.
As a simple volume calculation, 1mm of rain over 1m² equals 1 litre before collection losses. If the roof area draining towards your diverter is 8m² and rainfall is 5mm, the theoretical amount is 8 × 5 = 40 litres.
For an illustrative combined collection factor of 70%, that becomes 28 litres. The 70% is an assumption, not a guaranteed efficiency: wetting, splashing, filtering and bypass all affect the result. Twenty-eight litres is only 14% of a 200-litre butt, so one shower need not make it look full.
Use the roof’s horizontal footprint served by that gutter, not automatically its entire roof area. On a shed with gutters on both sides, your chosen downpipe may receive only one side. Our guide to collecting rainwater from a shed roof explores that starting point.
2. Follow the gutter and downpipe from ground level
During rain, stand somewhere safe and look for water pouring over the gutter edge, escaping at a joint or missing the gutter altogether. Those clues suggest the collection problem is upstream of the diverter.
Leaves, moss and roof debris can restrict gutter outlets. A loose joint or displaced gutter can also send water elsewhere. Inspect only what you can reach safely from the ground; arrange suitable help for high gutters rather than climbing in wet conditions.
Check that the downpipe really serves the roof you expect. It should be a rainwater pipe, not a waste or soil pipe. If the pipework is shared or its purpose is unclear, ask the owner or an appropriate tradesperson before altering it.
3. Inspect the diverter’s setting and filter
Find the make and model, then obtain its fitting instructions. Some diverters have a collection/bypass or summer/winter setting; others do not. A winter setting may deliberately send rain down the original drainage route instead of into storage.
When conditions are dry enough to work safely, check any accessible filter or collecting channel as the manufacturer describes. Remove loose leaves and sediment, rinse a removable filter if permitted, and refit components in the correct orientation. Do not assume the outside casing tells you whether the internal collector is seated properly.
Check the required downpipe shape and size too. A fitting intended for a particular round plastic pipe may not suit a square pipe or cast iron. Missing inserts, excessive pipe insertion or a nearby bend can affect some designs. GARANTIA specifically identifies installation geometry as one influence on its filters’ water yield.
Some rain continuing down the pipe is normal. Many collectors intentionally bypass part of the flow, especially in heavy rain. You are looking for useful collection, not proof that every drop has been diverted.
4. Check the connecting hose and installation height
Trace the short hose between the diverter and the butt. Look for a kink, crushed section, blockage or a connection that has come loose. A hose caught behind the container may look fine at both ends while being flattened in the middle.
Check the complete route against the instructions, including any limits on length and slope. Avoid inventing a universal rule such as “the hose must slope steeply downwards”. Some automatic diverters depend on carefully related water levels and a return path through that same hose.
Check the height with the butt in its final position on its final stand. Moving it onto a taller base after installing the diverter changes the relationship. A stand that has settled unevenly can also upset an installation that previously worked.
For many automatic systems, the diverter’s specified control level determines the intended full level. Too low can mean poor filling or an unexpectedly low stopping point; too high can prevent overflow protection working correctly. However, the reference point may be the rim, connector centre or a mark on the fitting. Follow your model’s measurements before making another cut.
5. Identify how your overflow is meant to work
There are two common arrangements. An automatic diverter can stop collecting into the butt once the designed level is reached, allowing incoming rain to continue down the downpipe. A different installation may use a dedicated overflow outlet and hose to carry surplus water away.
Do not assume every butt needs a separate overflow drilled into it. Equally, do not assume that any fitting sold as a diverter provides automatic overflow protection. Check the complete kit’s intended arrangement.
If water escapes through a dedicated overflow while the butt is still disappointingly low, compare the outlet height with the approved full level. If water reaches the rim instead, check for an obstructed or wrongly routed overflow and verify the diverter installation. Never cap an overflow simply to force the tank to hold more.
Keep surplus water on its intended drainage route. It should not continually soak the stand, run towards a building or create a slippery path. Persistent backing-up or flooding needs the drainage fault addressed, rather than a larger collection tank.
6. Look for water leaving somewhere else
Check that the tap and any drain plug are closed for collection. Look beneath fittings for drips and around the base for a wet patch that persists after the rain has stopped. A leak can be difficult to spot while everything is already wet.
Is an irrigation hose or pump taking water out? Pause normal watering during a short observation period, following the equipment instructions. A butt can collect correctly but show little rise if water is being used as it arrives.
With linked butts, identify whether the link is intended to equalise levels or pass water across only after the first container reaches a high outlet. Their behaviour differs. Check the receiving tank’s tap and drain as well as the first one. See our comparison of two linked water butts and one larger tank before adding or changing connections.
A simple check after making a correction
Once the system is reassembled, observe the next rainfall. Check that the level rises, joints remain sound, and surplus water follows its intended route when the collection level is reached. Keep notes of the rain, starting level and finishing level.
If you only cleaned a filter, test that change before buying another diverter. If the butt fills but runs out too quickly between showers, collection may now be working correctly. The remaining issue is storage and demand: our guide to sizing storage around dry spells addresses that problem.
Keep it working through the seasons
After heavy leaf fall, inspect accessible filters and the hose route. Clean the butt periodically; the RHS recommends annual cleaning. Keep its lid secure and use stored water regularly. Rainwater from a garden butt is not drinking water.
Follow the tank, diverter and pump manufacturers’ frost instructions. Some above-ground systems must be drained and switched to bypass for winter. An empty tank in that setting is doing what it was designed to do.
Do not move a full butt or improvise a narrow, unstable stand. Two hundred litres of water weighs about 200kg before adding the container. Drain it appropriately before repositioning, then recheck the installation heights.
Frequently asked questions
Why does rain pass the diverter without entering the butt?
Possible causes include a bypass setting, blocked collector, unsuitable installation or a hose restriction. Bypass is also normal once an automatic system reaches its collection level.
Does a blocked overflow stop a butt filling?
Usually it causes excessive water levels or spilling instead. If the butt stays low, first investigate the inlet route, height settings and leaks. Combined fill-and-return systems need their shared hose checked too.
Should I buy a pump to make it fill?
A standard downpipe diverter normally collects without a pump. A pump for garden watering will not repair a blocked collector or incorrect fitting height.
Why is my new butt collecting less than the old one?
Compare rainfall, connected roof area, diverter design, stand height and usable storage level. The new container’s larger capacity may also make the same collected volume look smaller.
Sources and useful planning resources
Checked on 26 October 2026. Installation dimensions vary: use the manual for your exact kit.
- GARANTIA: filter yield, installation and winter settings.
- Water Butts Direct: fitting and automatic return-flow instructions.
- Severn Trent: water butt and diverter installation guide.
- RHS: collecting, storing and maintaining rainwater.
For broader home-energy projects, browse our Recommended Products or explore the DIY Alternative Energy Projects bundle. Neither replaces the installation instructions for your water butt, and buying extra equipment is not the first troubleshooting step.
Explore the Energy Revolution offer
Affiliate offer: review the seller’s claims, terms and suitability independently. We do not guarantee results.