
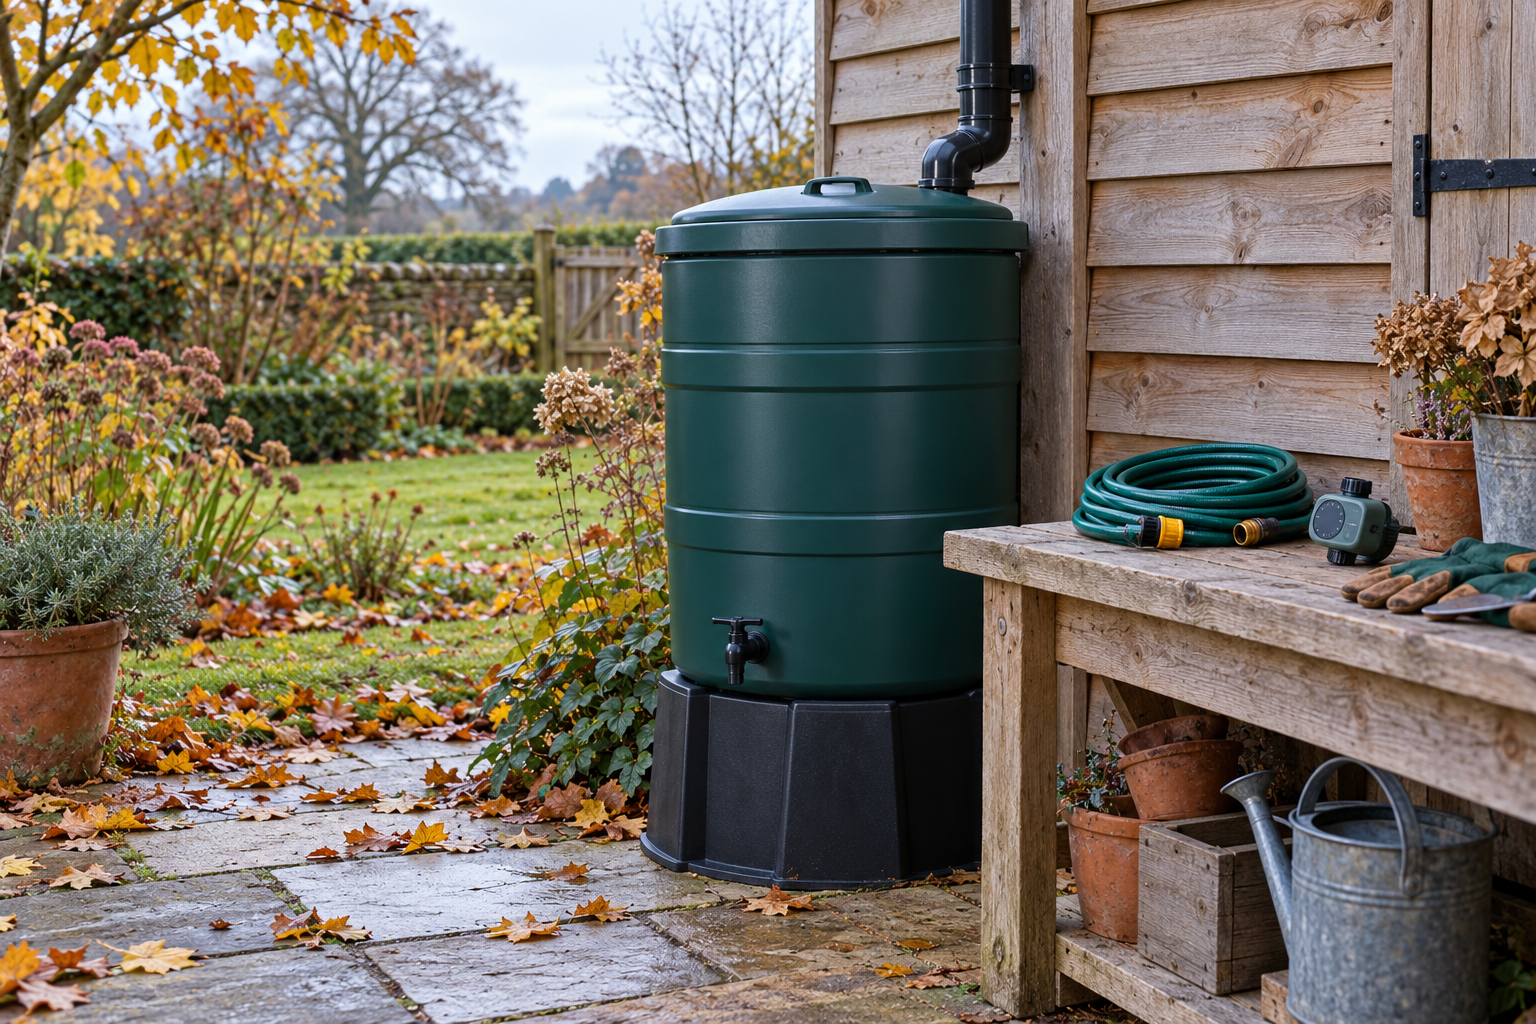
Turning off the watering timer is a good start, but it does not remove the water trapped inside it. A garden irrigation system can look inactive while its pump, filter, hose connectors and low pipe sections remain full.
Before frost, identify what holds water, stop it being refilled, and drain or store each vulnerable component as its manufacturer specifies. For a typical small garden setup, that means checking the water butt, diverter connection, hoses, removable timer, filters, pump and irrigation lines separately.
There is no single winter setting that protects every system. A removable battery timer on a tap is different from a fixed sprinkler controller. An above-ground butt is different from a properly designed underground rainwater tank.
Start before the first damaging frost
Choose a dry day while hoses remain flexible and fittings are not frozen. Use your local forecast and the equipment’s temperature limits rather than a fixed calendar date. A sheltered coastal garden and an exposed inland allotment can need different timing.
Gather the manuals, a bucket, labels, a soft brush and somewhere genuinely frost-free for removable parts. Take a photograph of the connections before dismantling anything. It is much easier to rebuild the correct arrangement in spring when you know which adapter belonged where.
Walk from the water source to the last dripper and list every component. Include short linking hoses between butts, pressure reducers, non-return valves and filter bowls. These easily overlooked pockets can retain water after the obvious tank has emptied.
What needs draining or moving?
| Component | Winter check |
|---|---|
| Above-ground water butt | Check whether complete emptying is required; stop incoming rain refilling it. |
| Diverter and linking hoses | Use the approved bypass arrangement and drain vulnerable connections. |
| Garden hose and attachments | Disconnect, release retained water and store as instructed. |
| Removable tap timer | Isolate supply, drain and move away from frost; check battery instructions. |
| Filter and pressure reducer | Clean and drain or remove according to their manuals. |
| Water-butt pump | Isolate power, drain and store according to its particular design. |
| Drip lines or buried irrigation | Use the designed drain-down method; low points may hold water. |
| Outside tap | Check isolation, drainage and frost protection for the tap and supply pipe. |
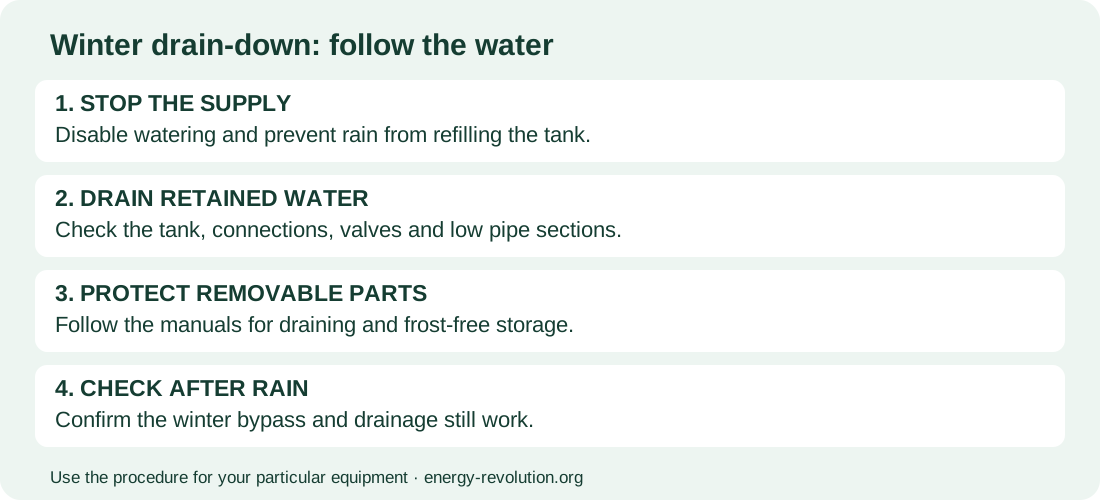
1. Stop the system starting or refilling
Cancel watering schedules before working on the pipework. Shut off the relevant water supply and safely isolate pump power before handling equipment. An app showing “off” is not a substitute for electrical isolation during maintenance.
For a rainwater system, address the collection inlet too. Emptying a butt on Saturday achieves little if Sunday’s rain fills it again. Use the diverter’s winter or bypass mode where provided, or its specified alternative arrangement.
Keep the original downpipe drainage route working. Do not plug the house downpipe to protect the butt, and do not leave a loose hose discharging beside the building. If you are unsure which route carries surplus water, read our diverter and overflow guide before disconnecting it.
2. Drain the water butt according to its instructions
Many above-ground tank manufacturers require complete emptying before freezing conditions. GARANTIA’s winter guidance, for example, calls for emptying its listed above-ground containers and preventing further collection; many entries also specify leaving the tap open.
Check the exact model rather than assuming “half empty” is enough. The bottom tap may leave a shallow layer below its opening, while some tanks provide a separate residual drain. Follow the instructions for that drain and for the final position of taps or plugs.
Use suitable stored rainwater on plants that need it, or release it gradually to an appropriate place. Do not create runoff against foundations, saturate the stand’s base or leave water across a path where it could freeze.
Keep the lid secure and check the empty container’s stability in wind. Never tip or move a heavy, partly full butt to reach the last water. A 200-litre fill weighs about 200kg before the tank itself is included.
Linked containers need individual attention: water can remain in the linking hose or flow back from a second tank. Identify each connection and drain the whole arrangement. The same principle applies to a larger store; see our guide to using an IBC for garden rainwater for load and access considerations.
3. Disconnect hoses and remove trapped water
Disconnect ordinary garden hoses from the supply and remove spray guns or other end attachments. With the supply isolated and pressure released, let water escape from the hose and fittings. A closed spray gun or stop connector can retain water even when the hose has been taken off the tap.
Where the hose’s instructions permit, lay it out and progressively lift sections to encourage drainage. Coil it without sharp bends and store it away from frost and physical damage. Do not force a stiff, frozen hose into a tight reel.
Hozelock warns that water left in hose-end attachments can cause frost damage. Treat guns, connectors and sprinklers as separate items to drain and store; simply bringing in the long hose does not protect an attachment left outside.
Check specialist hose reels and expandable hoses against their own manuals. Their construction and residual-water behaviour can differ from a simple open-ended hose.
4. Protect timers, filters and pressure reducers
A battery timer attached to an outdoor tap contains a valve body as well as electronics. Removing the batteries alone does not empty that valve. After isolating the water supply and releasing pressure, remove and drain the timer as instructed, then store it somewhere frost-free.
For its Sensor Controller, Hozelock specifically says to drain remaining water and bring the timer indoors for winter. Its irrigation-storage guidance also calls for removing the water timer batteries. Check your model before applying that procedure.
Clean accessible filter screens, inspect seals and keep small parts together in labelled bags once dry. Do not tighten plastic fittings harder to compensate for a damaged washer; identify the correct replacement.
Fixed irrigation controllers are a different category. Some manufacturers instruct owners to leave electrical power connected while disabling watering programmes. Follow that controller’s guidance rather than extending the advice for a portable tap timer to every installation.
5. Give the pump its own winter procedure
A water butt being empty does not prove that its pump is empty. Water may remain in the pump body, outlet hose, filter or non-return valve.
Hozelock recommends removing its water-butt pump and storing it away during frosty months. For your pump, consult the manual for safe removal, draining, cleaning and storage. Lift using its intended handle or lifting arrangement, never its electrical cable.
Do not run a pump dry to try to expel the last water unless the manufacturer explicitly allows that procedure. Also avoid assuming all pumps should be stored in the same way: seal requirements and permitted storage conditions vary.
If you use a solar-powered watering kit, check the pump, controller and battery instructions separately. A panel tolerating outdoor weather does not establish frost protection for the water-filled components. Our solar drip irrigation guide explains the parts of a small rainwater-fed system.
6. Drain irrigation lines without guessing
Gravity can remove water where there is a continuous route to suitable drain points. It cannot empty every sag, buried dip, closed valve or trapped section just because an end cap has been removed.
Hozelock’s guidance for its buried supply tubing allows that tubing to remain in place after the specified preparation, while requiring drippers, the pressure reducer and timer to be removed and protected from frost. That is product guidance, not permission to leave every brand’s fittings outdoors.
Permanent sprinkler systems may have manual drains, automatic drains or a designed compressed-air winterisation procedure. If you cannot identify the arrangement, ask the installer. Buried pipework is not automatically below the depth affected by frost.
Do not connect a compressor to a garden system and improvise. Hunter warns that compressed-air winterisation can cause serious injury and recommends a qualified contractor. Pressure limits, airflow, component compatibility and the correct connection point all matter. Pumps and backflow devices require particular handling.
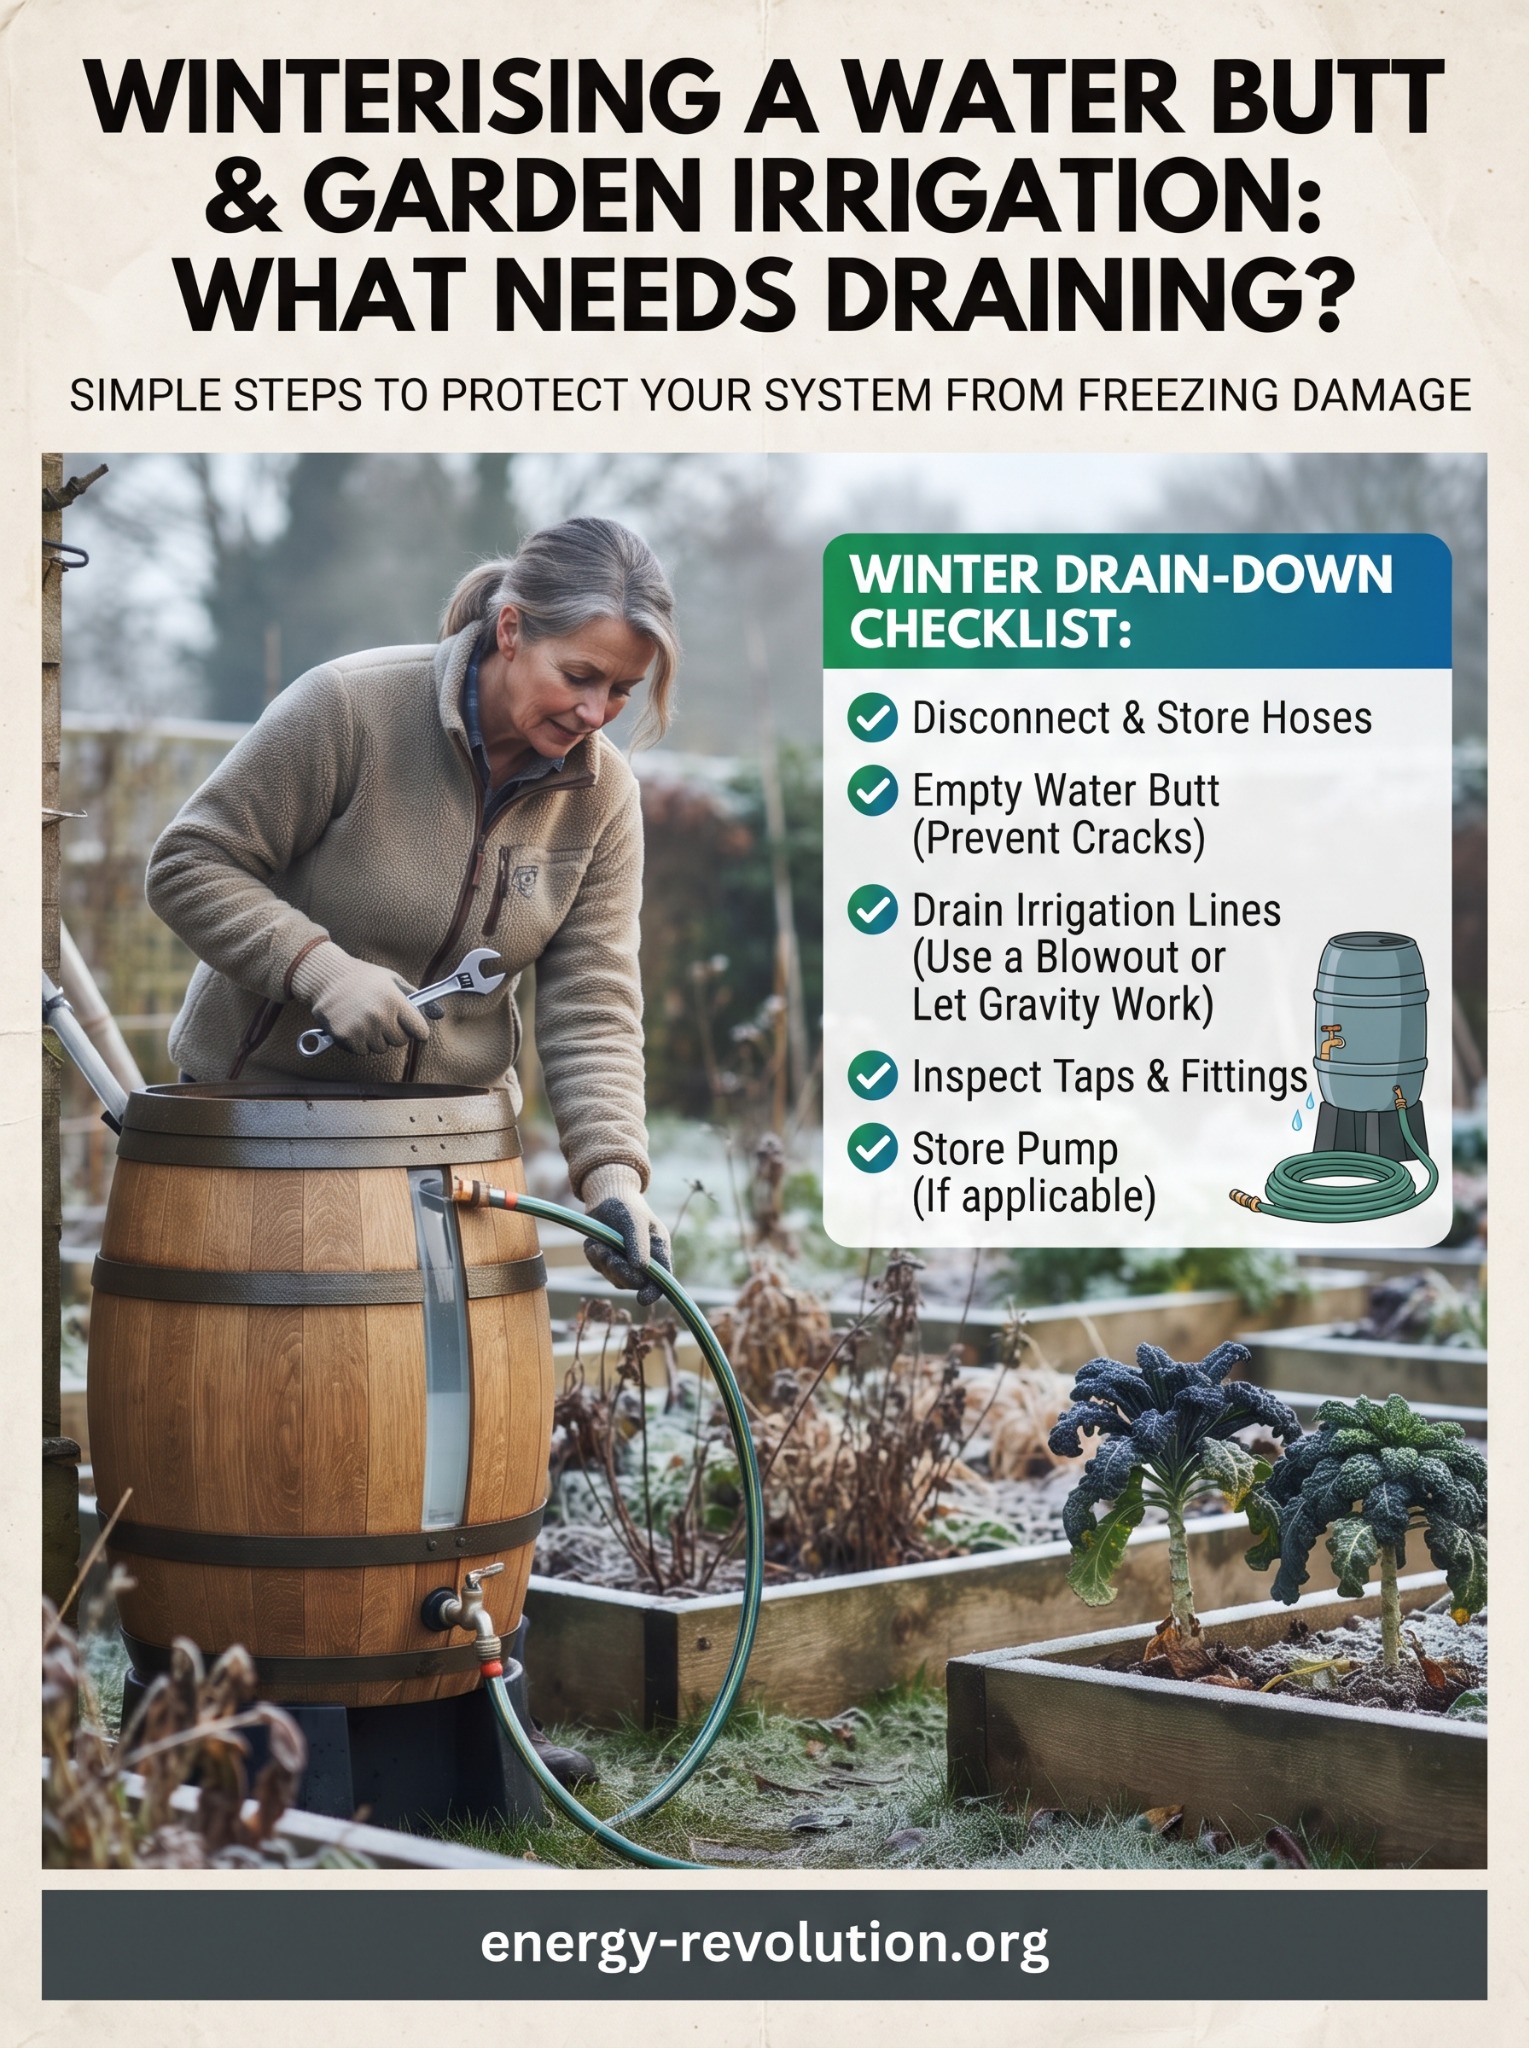
The pin’s phrase “use a blowout or let gravity work” therefore describes possible methods, not interchangeable DIY choices. Select the method specified for the installed system.
Outside taps and winter watering
If an outside tap has a dedicated indoor isolation valve, use the correct shut-off and drainage procedure for that installation. Where winter use continues, protect exposed taps and pipework appropriately; the RHS recommends lagging outdoor taps and draining irrigation lines.
Insulation slows heat loss but does not remove water or guarantee protection through prolonged freezing. Do not assume a tap cover protects a timer or hose still attached underneath it.
For occasional watering of sheltered pots, a watering can may be simpler than keeping the entire summer irrigation network active. Only water where plants need it and avoid leaving spillages that could freeze on walking routes.
Check once more after rain, then restart carefully
After the next shower, confirm the butt remains in its intended winter state and rain still drains safely. Check that disconnected openings are protected as instructed without obstructing required drains or vents. Store removed parts together with a photograph of their original positions.
In spring, inspect for splits, damaged seals and loose connections before refilling. Reassemble according to the manuals, restore power and water in the specified order, and test a short supervised watering cycle. Check the last dripper as well as the first and look for leaks before enabling a repeating schedule.
Frequently asked questions
Can I leave a partly full water butt outside?
Only if its manufacturer’s winter guidance permits that arrangement. Partial emptying does not protect every container or its valve. Some products require complete drainage.
Will a blanket or cover replace draining?
No general guarantee follows from adding a cover. Follow the equipment’s frost instructions; insulation cannot reliably protect trapped water indefinitely.
Does switching off the timer drain the pipes?
No. It stops scheduled watering but may leave water in the timer and downstream components. Drain or remove them as specified.
Should I add antifreeze to the water butt?
Do not add automotive antifreeze or improvised chemicals to garden rainwater. Use the manufacturer’s drainage and storage procedure.
Sources and planning resources
Checked on 28 October 2026. These sources describe particular equipment or general garden care; use your own product manuals for the final procedure.
- GARANTIA: above-ground tank winter checks.
- Hozelock: frost damage to hose attachments.
- Hozelock: Sensor Controller instructions.
- Hozelock: buried tubing and removable irrigation parts.
- Hozelock: water-butt pump guidance.
- Hunter: irrigation winterisation and compressed-air precautions.
- RHS: winter care for irrigation lines and outside taps.
For broader projects, browse our Recommended Products and DIY Alternative Energy Projects bundle. Start by maintaining the equipment you already own; a new purchase is not a substitute for draining it correctly.
Explore the Energy Revolution offer
Affiliate offer: review the seller’s claims and terms independently. We do not guarantee results.